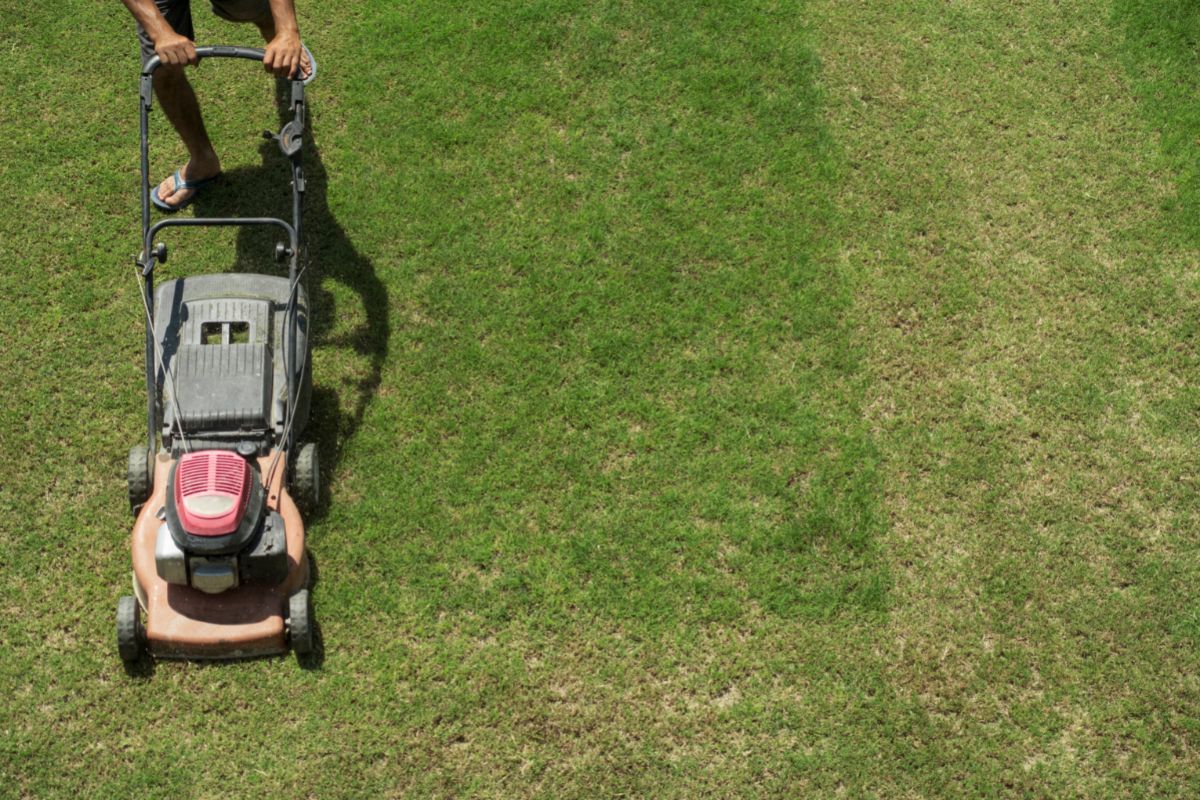
Maintaining your lawn mower is an important part of keeping your yard looking its best. One common issue that many people encounter, however, is a broken or stuck pull cord.
When this happens, it can be frustrating and even prevent you from using your lawn mower altogether.
You may have noticed that some gasoline-powered lawn mowers come with electric starters, but most tend to have a recoil starter. This spins the flywheel in the engine when you pull the starter cord or rope.
If this cord breaks or becomes faulty, which happens to most mowers after a while, then it may need to be replaced with a new one.
The good news is that fixing a damaged lawn mower pull cord is not too difficult. Removing the recoil starter assembly, on the other hand, can be somewhat tricky.
This is because some mower models require you to remove certain engine parts to get to it. The best option is to read your lawn mower’s operator manual to find out how to remove this carefully and safely.
Don’t worry if you have never fixed a faulty mower pull cord, though, as we have everything you need to know to get your lawn mower back up and running today.
In this article, we’ll walk you through the steps to fix a lawn mower pull cord, so you can get back to maintaining your yard with ease.
Tools And Materials Required
If you are new to fixing faulty lawn mower pull cords, then you will be wondering what tools you’ll need.
Altogether you will require:
Even with a little mechanical aptitude, you can bring your mower back to life with these tools and our how-to guide.
Broken Cord Or A Stuck Cord?
Before you start fixing anything, you need to find out whether the pull cord is either stuck or broken. If you find that it is stuck, the repair may be easier than you thought and parts may not need to be replaced.
Also, make sure the brake is off and there is no lawn debris that may be clogging the blade. Sometimes, it could be something as simple as these!
If you have checked it over and your mower’s pull cable is still not working, you’ll need to open the rewind unit. Let’s find out how below.

Step-By-Step Guide On Fixing Your Lawn Mower Pull Cord
1. Begin by pulling the wire from the spark plug. This will prevent your lawn mower from starting up whilst you work on it. Check your user’s manual and locate the recoil starter housing.
On more modern models, this is typically behind the gas tank or another engine component. In older models, it is generally connected to the side or top of the engine housing.
2. Next, you may need to remove some engine parts in order to have access to the recoil starter housing. Using your screwdriver, loosen the screws attaching the recoil starter housing to the engine and then lift the housing off.
At this point, whatever is left of the old cord and starter pulley should come away too.
3. You should see a knot located on the end of the rope. Loosen this and carefully pull the cord out of the starter pulley. Compare this old rope with the new one to ensure they are both the same thickness.
4. Wind the starter pulley five or six full revolutions clockwise. Just make sure you’re holding the pulley securely wearing your protective gloves.
5. Line up the hole found in the pulley with the recoil starter housing’s hole. Insert your screwdriver through the housing and pulley to prevent the rope from unwinding.
6. Take one end of the new cord and feed it through the holes. Now, tie one knot at the cord’s end.
Holding the rope securely and tightly, remove the screwdriver and allow the pulley to unwind carefully and slowly. As it unwinds, the cord should wrap itself around the pulley.
7. Take the other end of the cord and feed this through the hole found in your lawn mower’s handle. Now, push its handle toward the starter housing (within one-inch).
At the end of the cord, tie a single knot so the handle is held securely in place. Any excess cord can be cut off with a knife.
8. Finally, replace the recoil starter housing within the lawn mower’s engine. All parts that had to be removed can then be reassembled.
Once that has been achieved, attach the wire to the spark plug once again.
The moment of truth has arrived. Pull on your lawn mower cord to test it. Hopefully, you have repaired the mower and can get back to your yard chores.
If, however, it is still not working, we recommend taking it to a professional for a thorough examination.
Replacement Lawn Mower Cords
It’s important to note that different lawn mower models require different kinds of pull cords.
Your owner’s manual should state what cord fits your lawn mower model, but if this information is not available, we suggest choosing the thinnest type of pull cord, as these tend to fit most mowers.
Bear in mind, however, that the thinner the cord, the more likely it will break again sooner. You can find a replacement cord at local hardware stores or online.
When visiting a store, take the old one with you so the store’s employees can help find the closest match or exact kind you need.
In Summary
Even with regular maintenance, your lawn mower can decide to give up the ghost, seemingly out of nowhere. Sometimes, though, it can be repaired with a few simple steps, as seen above.
If your cord is damaged, try our step-by-step guide above or seek professional help if you prefer. Hopefully, your lawn mower will be running smoothly again soon so you can get back to work!
