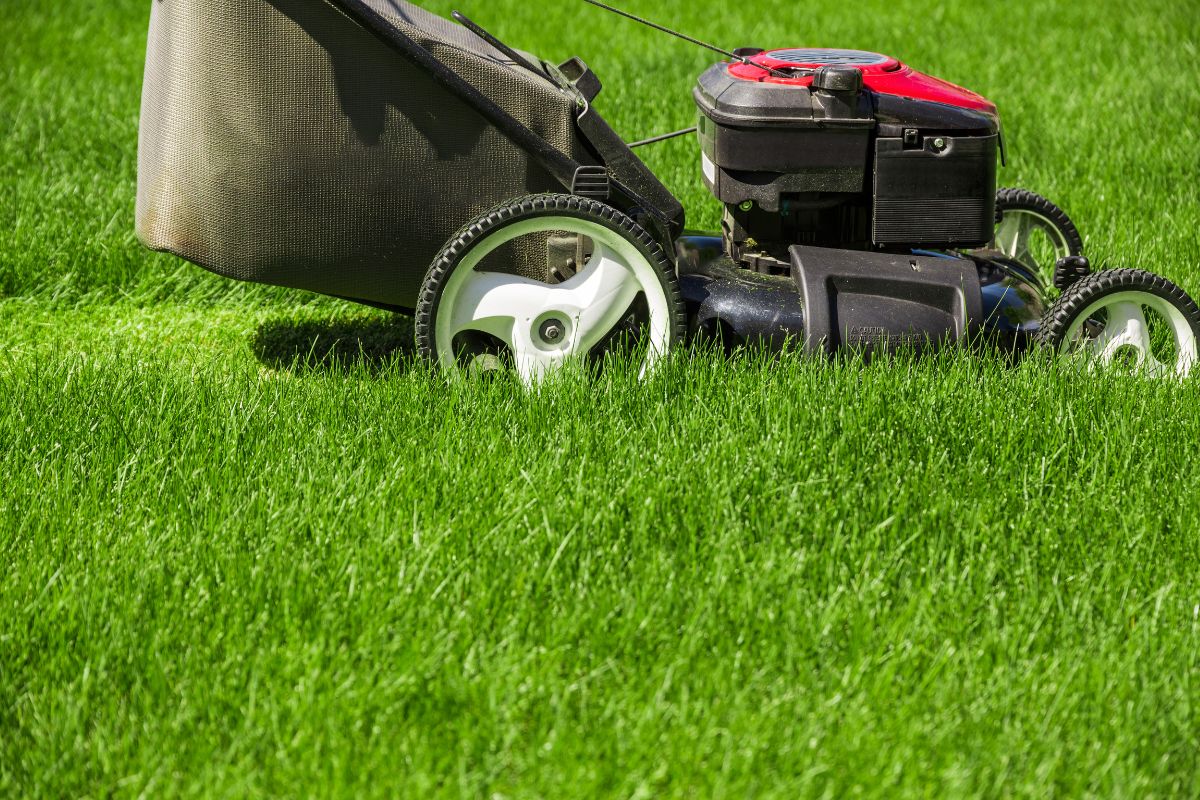
If you regularly mow your lawn, then you may be interested in putting a grass bag onto your lawn mower. Grass bags are a game changer when it comes to mowing your lawn, simply because they make cleaning up so much easier.
With a grass bag, all the clippings will be collected in the bag, leaving your grass looking fresh and clean after a trim.
Some lawn mowers come with grass bags ready-fitted, but you will need to remove and replace the bag from time to time. While removing the bag may be very straightforward, fitting a new grass bag is nowhere near as simple as it looks.
The main reason why it isn’t simple to put a bag on your lawn mower is because you have to get it right.
If you place the bag incorrectly then the consequences could be frustrating, or even hazardous. So, if you are putting a bag on your lawn mower, you need to do it right.
In this guide, we’re telling you all you need to know about how to put a bag on your lawn mower. Keep on reading to find out more!
Why Would You Put A Bag On A Lawn Mower?
First things first, let’s take a look at why people use grass bags in the first place. Some lawn mowers are designed to be used with grass bags, while others are not. But ultimately, the purpose of the grass bag is to collect grass clippings.
As you cut your grass, the clippings that are removed will have to go somewhere. Some lawnmowers simply spit the clippings out, meaning that you have to brush up the clippings after you have finished using your mower.
However, other lawn mowers will collect the clippings as they are being cut. These lawn mowers will use a grass bag.
The grass bag is essentially just the bag that covers the rear end, or side, of the lawn mower. So, as you mow the lawn, the grass clippings will be spat out of the lawn mower, and into the grass bag.
This means that when you finish mowing the lawn, all the grass that has been clipped will be in the grass bag waiting for you.
Lawnmowers that use grass bags will need to have the bags replaced. Fitting the bag correctly is absolutely critical. With that in mind, let’s take a look at how to put a bag on a lawn mower.
How To Put A Bag On A Lawn Mower
As we have said, fitting the bag on your lawn mower correctly is absolutely critical for the operation of your lawn mower. Below, we’ve put together a step-by-step guide to ensure you get this right the first time!
We’ve included steps for both rear and side-fit grass bags, so follow the instructions that suit your lawn mower.

Rear Grass Bag
Step One
With a rear grass bag, the first thing you need to do is unsnap the discharge (vent) cap from the rear of your mower. This allows any clippings to be directed toward the grass bag, rather than mulched.
Step Two
Then, using your hands, you need to expand the rear brackets. These rear brackets expand and you will need to expand them to the full length of the bag to ensure that it is fully expanded and secure.
Step Three
Next, you need to find the two lower bag hooks, then snap these into the bag’s canvas loops. This will hold the bag in place.
Step Four
Then, find the upper bar hook and snap that into the upper canvas loop. The upper bar hook will be located near the handlebars of the mower, and the canvas bag loop is typically located at the center of the top of the bag.
Step Five
Next, you need to connect the lower portion of the bag to your mower. On both the left and right of the bottom of the bag, you will find rear roller notches. Connect the bag using the hooks to these notches.
Step Six
Finally, you need to attach the upper bar hook to the handle’s hook groove. Then all that’s left to do is adjust the height of the bag, then your lawn mower is ready to be used.
Side Grass Bag
Step One
First things first, you need to unsnap the side vent so that the grass clippings will be directed toward the grass bag, rather than mulched. This is the same as the first step for the rear bag, except the side vent will be located on the side for a side grass bag.
Step Two
Next, you need to reach inside the bag and extend the bracket arms within it until the full width of the bag has been expanded. Just like with a rear bag.
Step Three
Then, you need to connect the side grass bag to the chassis of your mower. There will usually be an attachment notch here where the bag can be snapped onto. The connection will be near the side vent.
Step Four
Holding onto the bag, you will need to open the charge chute to ensure that all clippings are directed toward the bag. Typically, the chute will have around 4 openings, so ensure they are all covered.
Step Five
Finally, you need to attach the grass bag to the handles of the mower. Simply do this using the handle clips that are attached to the bag. Then your lawn mower is ready to use!
Summary
In short, putting a bag on your lawn mower isn’t as simple as it may first seem. It is critical that you place the bag correctly, otherwise you could disrupt the operation of your lawn mower, or even make it dangerous.
In the guide above, we’ve given you a step-by-step guide to putting a bag on a lawn mower. So, if you are doing this for the first time, be sure to follow the instructions to get it right!
Thanks for reading.


