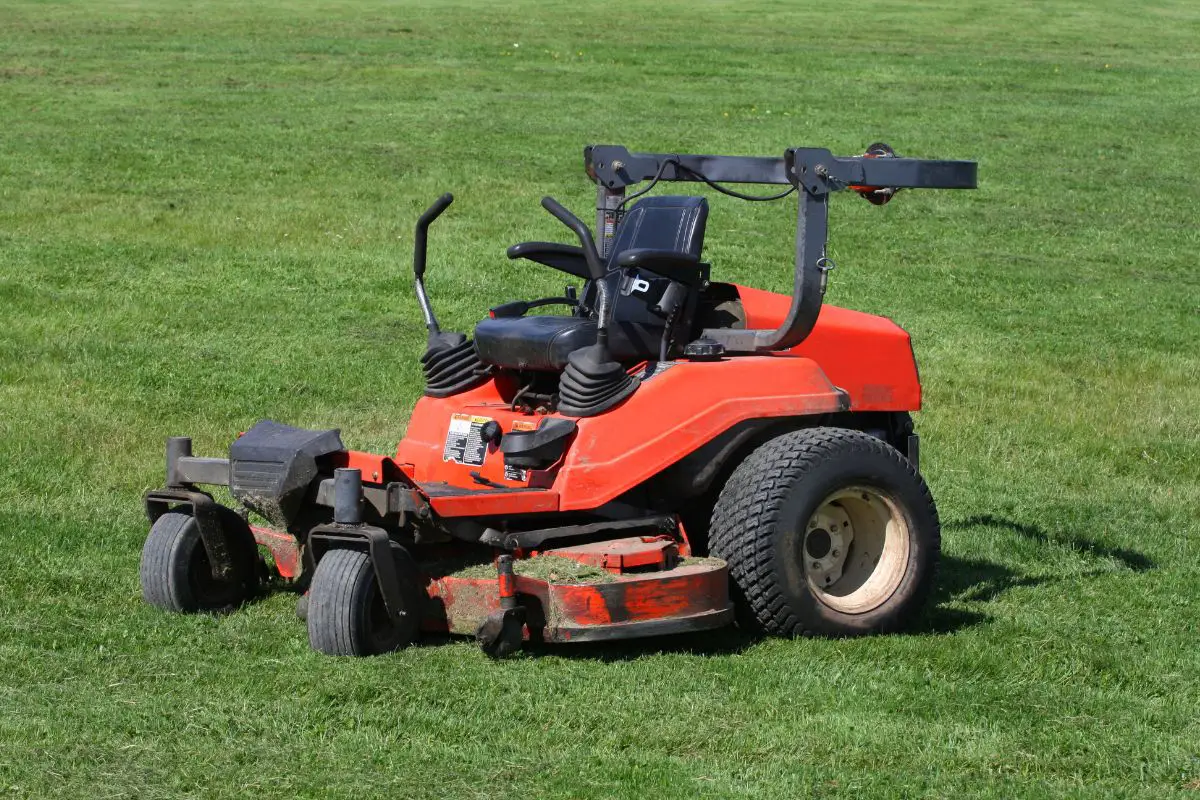
When you become familiar with your lawn mower, you will start to notice differences in the way that it operates over time. This is especially true of riding lawn mowers.
Just like how you can notice that something isn’t quite right with your car, you can notice that something doesn’t feel right about your mower. A lot of the time, the thing that is disrupting your riding lawn mower is the belt tension.
As you use your lawn mower, the belt tension will slowly slip, and you might find that it takes a couple of seconds for the blades to engage, when they had previously engaged immediately.
Instead of engaging instantly, you may notice that your blades seem to think about spinning before they actually start spinning.
Thankfully, most of the time, adjusting belt tension on your riding lawn mower is an easy task. Once you know what you are doing, it’ll be easy as pie. So, if you want to find out how to adjust belt tension on your riding lawn mower, keep on reading!
What You Need
You may expect that you’ll require a long list of fancy tools to be able to tighten the belt tension on your riding lawn mower. But thankfully, this isn’t the case. Instead, you’ll likely already have the tools that you need at home.
That is because the only tool that you need to do this is a wrench. A regular wrench will be perfectly fine for the job, so there’s no need for anything fancy.
In fact, a regular wrench is generally better than a socket wrench. So, if you have a normal wrench in your toolbox, grab that and you’re good to go!
Check The Belt First
Before you decide to tighten up the belt tension on your riding lawn mower, it is very important to check the condition of the belt first.
While it is often the belt tension that is making your lawn mower sluggish, there is a chance that the belt could be damaged. So, before you tighten it, you need to check the belt first for your own safety.
A lot of the time, you will be able to tighten the belt instead of having to pay for a replacement. However, sometimes the belt will be beyond repair. The only way to know for certain is to check it.
Simply by looking at the belt, you will be able to tell if it is too far gone. If the belt is incredibly worn or visibly damaged, you will likely need to replace it.
Unfortunately, in this situation, tightening the belt will not resolve the problem. It might work for a short amount of time, but very soon after, the belt will snap and require replacing anyway.
So, before you begin tightening the belt tension, make sure that you take a look at the belt and check its condition. If it looks beyond repair, then it probably is.
But if it looks like it is in good condition, just a little loose, you should proceed with adjusting the belt tension.

How To Adjust Belt Tension On Riding Lawn Mower
As we said earlier, adjusting belt tension on your riding lawn mower isn’t as difficult as you may expect.
Step One – Prepare
Begin by checking the condition of the belt, and grabbing your wrench from the tool kit. Then move onto step two.
Step Two – Find The Spring And Bracket
On the top of the mower, you’ll find a belt, swing arm, and several pulleys. Identify the tension spring among these components (it will be connected to the swing arm on one end, and the bracket on the other).
While the blades are engaged, press down on the spring and take hold of the belt. If the belt feels loose, it requires adjusting.
Step Three – Adjust The Tension
To adjust the tension of the belt, you need to move the bracket to which the spring attaches to backward.
As the bracket moves backward, the belt will be pulled tight and this will increase the tension. This sounds easy, but in practice, it is the trickiest step.
Begin by disengaging the blades of the mower. This will make it safer, and also make everything slacker, so it’ll be easier for you to pull the belt tight.
With the belt slack, take your wrench and begin to loosen the screws on the bracket. Don’t remove them entirely, just slacken them so that the bracket can move, then move onto the next step.
Step Four – Move The Bracket
Now that the screws have been loosened, you should easily be able to pull the bracket backward. As you do this, you will observe the belt-tightening.
Make sure you are pulling the bracket towards you and away from the spring, otherwise it will become looser, not tighter.
Step Five – Tighten The Screws
With your bracket in place, you can now tighten the screws. Use your wrench to tighten up the screws as much as you possibly can. This will hold the belt tight and ensure that the tension doesn’t reduce when you start using the mower.
Step Six – Engage The Blades
With the brackets back in place, it is then time to re-engage the blades. With everything tightened up in place, you should visibly be able to see the difference in your lawn mower.
However, the only way to know for certain is to give it a go. So what are you waiting for?
Summary
In short, if you notice that the blades of your riding lawn mower have become sluggish and slow to engage, it is likely because the belt tension has reduced.
To fix this, you will need to tighten up the belt tension, and then your mower will be as good as new.
In this guide, we’ve given you a step-by-step guide for adjusting your lawn mower’s belt tension using a regular wrench. So, if you need to adjust the belt tension, follow the guide above.
Thanks for reading!


