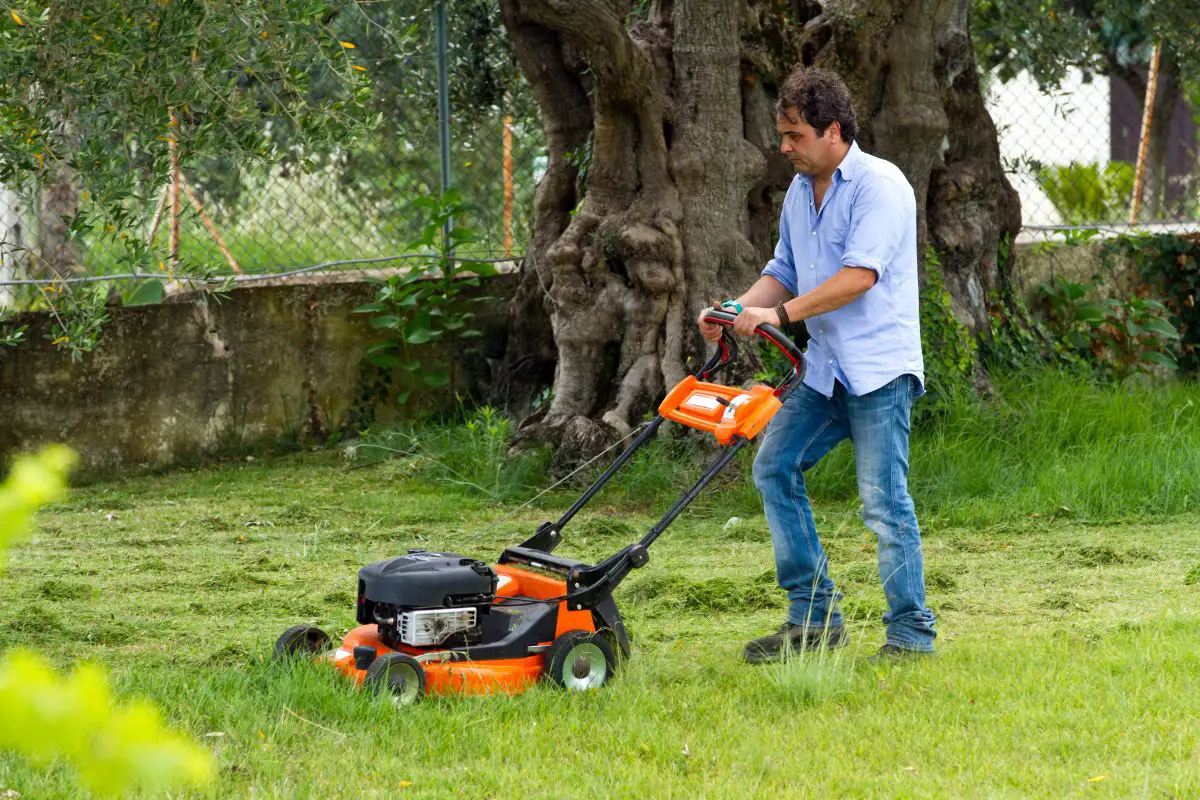
There’s a lot to be said for self-propelled lawn mowers – they really take the effort out of mowing the lawn.
What at first may appear to be an unpleasant chore becomes an absolute breeze – there’s no pushing required and all you have to do is simply guide the lawn mower where you want it to go
If you’re elderly or have difficulty getting about, it’s a perfect solution. And if your lawn is on a slope, it can feel like a lifesaver.
But, even big name brand self-propelled lawn mowers struggle from time to time.
Quite often, it’s usually something that’s quite easy to fix – the blades, the fuel, and so on. But what if it’s the self-propelling aspect of the lawn mower that’s failed.
If you’ve paid a lot of money for your lawn mower, and you don’t want to replace it, it can be tempting to just say to yourself “That’s fine, I’ll just push it.”
However, there is a much better solution out there – you can fix it.
The purpose of this article is to explain how to go about fixing the self-propelling element of your lawn mower.
Don’t worry, it’s easy to do, and we’re going to walk you through each part of the process, step-by-step.
And without further ado, let’s get straight to it.
Step 1 – Assess Whether The Lawn Mower Needs To Be Replaced
As a general rule, it is usually cheaper to repair a lawn mower than to replace one, which is great news if you fancy your chances at repairing it yourself for free.
However, there are some instances where there’s nothing you can do about the damage, and the entire lawn mower has to be replaced.
For example, if you’ve been mowing the lawn, and you detect a burning smell, this can mean that there is stress on the belts causing them to melt while the engine is running.
Alternatively, there could be an issue with the spark plug of an electric lawn mower or with the carburetor.
Occasionally these are issues that can be easily solved, by unclogging the airflow into the carburetor, for example. However, a burning smell is generally a very bad sign, and a good indicator that the machine really ought to be replaced.
Sometimes, there may not be anything wrong with the lawn mower at all. For instance, if the lawn mower has suddenly stopped, this could be due to a blockage in the blade area.
So your first port of call is always to check the blade area and clean it out thoroughly before doing anything else, to see if that helps. When you do this, make sure that the machine is switched off first.
Step 2 – Identify The Problem
Before you can fix anything, you need to know what’s causing the problem.
The top 5 causes of why your lawn mower is not self-propelling are as follows:
- Worn wheel assembly
- Broken v-belt
- Damaged control cable
- Defective transmission
- Damaged drive pulley

So, as you can see from this list, the most common cause of this problem is worn or damaged parts.
But, before you leap to the assumption that a part needs replacing, it’s only due diligence to examine the functioning of the lawn mower as a whole first…
Pay attention to whether the lawn mower has stopped altogether, or whether it’s simply just a little slower, or is having difficulty going uphill.
Look at whether the ignition is working, whether the wheels are turning, whether there’s moisture damage, caused by the lawn mower being left out in the rain, or whether the component parts are sufficiently lubricated.
Once you’re satisfied that it’s not an ignition or lubrication problem, what you’ll have to do is take a good look at the lawn mower to assess any wear or damage.
Even if it means that you have to take the lawn mower apart, piece by piece.
Step 3 – Ordering Replacement Parts
Fortunately, if you can see that a part needs replacing, all you have to do is order it and replace it.
This is why it’s handy to keep hold of instruction manuals, so that you have important information at hand, such as the model or serial number of the lawn mower, so you can be sure that you’re ordering the correct part.
More often than not, the part you need will be available to order online, usually with the manufacturer.
Similarly, all of the parts mentioned above can be replaced, the wheel assembly, the belt, the cable, the drive pulley and even the self-propelled transmission.
The only time you’d struggle to get hold of replacement parts is when your lawnmower has been discontinued by the manufacturer.
In which case your best option may be to replace the whole lawnmower, or use a universal one if you can get your hands on one.
Step 4 – Replacing The Damaged Parts
The next step is to decide whether you have the confidence to attempt to replace the part yourself, or whether you’d prefer to have a professional do it for you.
Tuneups for self-propelled lawn mowers from a professional technician cost on average $70, so if you have the budget for it, this might be worth considering.
If you’d prefer to do it yourself, the manufacturer may be able to provide you with their instructions on how to do it. This would be found in the owner’s manual.
If you no longer have the owner’s manual, you can usually obtain a new one online that you can print or view on screen. And you should follow their instructions to the letter.
If you feel you’d prefer video instruction on this, simply head over to YouTube.
If you do go to YouTube, we’d recommend that you search for the type, the brand, and ideally the model, of the lawn mower that you’ve got, in order to bring up specially tailored instructions.
Wrap Up
It’s kinda tricky to explain how to fix a self-propelled lawn mower without knowing exactly what may be wrong, but now that you have this guide, you know what the most common issues are, and you can decide whether you’re going to repair it with replacement parts, or simply buy a new one.
