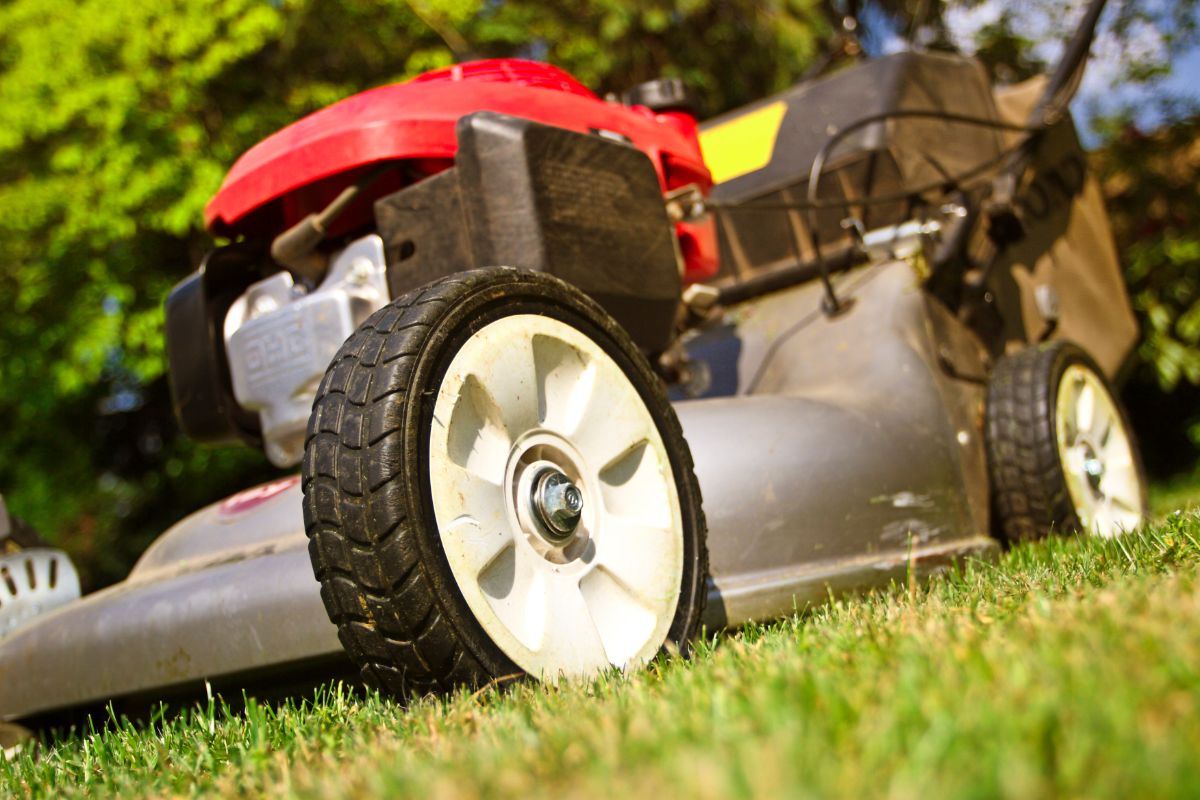
Whether you need to replace a damaged wheel or perform maintenance on your mower, knowing how to remove wheels is essential.
Removing a lawn mower wheel may seem daunting, but with the right tools, proper techniques, and a little guidance, it can be a straightforward process.
In this article, we will walk you through the step-by-step instructions to safely and effectively remove a lawn mower wheel. We’ll cover the necessary tools, safety precautions, and techniques to ensure a successful wheel removal.
By learning how to remove a lawn mower wheel, you’ll gain the confidence and knowledge to tackle maintenance tasks and keep your mower in optimal condition.
So let’s get started and discover the proper way to remove a lawn mower wheel like a pro!
Why Might You Need To Remove A Lawn Mower Wheel?
There are several reasons why you might need to remove a lawn mower wheel. Here are a few common situations where wheel removal becomes necessary:
Wheel Replacement
If a wheel is damaged, worn out, or no longer functioning properly, you may need to remove it in order to replace it with a new one. This is often the case if the wheel is cracked, bent, or has a damaged tread.
Tire Repair
In some instances, you may need to remove a lawn mower wheel to repair or replace the tire. This could involve patching a punctured tire, replacing a flat tire, or installing a new inner tube.
Maintenance And Cleaning
Removing the wheels can provide easier access to certain parts of the mower, allowing for more thorough cleaning or maintenance tasks.
For example, removing the wheels may make it easier to clean debris or grass clippings that have accumulated around the axle or wheel assembly.
Drive Belt Replacement
In certain mower models, the drive belt that connects the engine to the wheels may need to be replaced. Removing the wheels can provide access to the drive belt, allowing for its replacement.
Customization Or Upgrades
If you’re customizing your lawn mower or upgrading certain components, you may need to remove a wheel to install new attachments, accessories, or enhancements.
Tools Required To Remove A Lawn Mower Wheel
To remove a lawn mower wheel, you will typically need a few basic tools. The specific tools required may vary depending on the type and model of your lawn mower. Here are some commonly used tools:
Wrench
A wrench is usually needed to loosen and remove the bolts or nuts that secure the wheel to the axle. The wrench size will depend on the bolts or nuts used on your particular mower model.
Pliers
Pliers may be necessary to hold the axle or bolt in place while removing the nuts or bolts with the wrench. They can provide a better grip and help prevent the axle from rotating while loosening the fasteners.
Screwdriver
A screwdriver may be required if your lawn mower has a wheel cover or hubcap that needs to be removed before accessing the bolts or nuts. The type of screwdriver needed will depend on the specific screws used on your mower.
Pry Bar (Optional)
In some cases, a pry bar may be needed to gently pry or lever the wheel off the axle if it is stuck or tightly fitted. However, exercise caution when using a pry bar to avoid damaging the wheel or mower components.
Lubricant (Optional)
If the wheel is difficult to remove due to rust or corrosion, applying a lubricant like penetrating oil can help loosen the connection between the axle and wheel hub.

Steps For Removing A Lawn Mower Wheel
To remove a lawn mower wheel, follow these step-by-step instructions:
Preparation
Ensure the mower is turned off and parked on a flat, stable surface. Put on any necessary safety gear, such as gloves or safety glasses.
Wheel Cover Removal
If your lawn mower has a wheel cover or hubcap, use a screwdriver to carefully remove it. Gently pry it off or unscrew any retaining screws, depending on the design.
Accessing The Fasteners
Locate the bolts or nuts that secure the wheel to the axle. These are typically located at the center of the wheel or on the axle ends.
Use a wrench to loosen and remove the fasteners. If the axle rotates while removing the nuts or bolts, hold it still with pliers.
Wheel Removal
Once the fasteners are completely removed, grasp the wheel firmly with both hands and pull it straight outwards.
If the wheel is stuck or tightly fitted, you may need to gently wiggle it or use a pry bar to leverage it off the axle. Take care not to damage the wheel or other mower components during this process.
Inspection And Maintenance
With the wheel removed, take the opportunity to inspect it for any damage, wear, or debris. Clean the wheel and axle area, removing any grass clippings or debris that may have accumulated.
If necessary, perform any maintenance tasks, such as repairing or replacing the tire, before reattaching the wheel.
Reinstalling The Wheel
To reinstall the wheel, align it with the axle and slide it back onto the axle shaft. Ensure it is fully seated and aligned properly.
Fastening The Wheel
Use the socket wrench or adjustable wrench to reattach and tighten the bolts or nuts onto the axle. Make sure they are securely tightened but avoid over-tightening, which could lead to damage.
Wheel Cover Reinstallation
If your lawn mower has a wheel cover or hubcap, place it back over the wheel. Align it properly and secure it with screws or by pressing it firmly into place.
Final Thoughts
Removing a lawn mower wheel is a relatively straightforward process that can be accomplished with a few basic tools and some careful steps.
By following the step-by-step instructions outlined in this guide, you can safely and effectively remove a wheel from your lawn mower.
Remember to take the necessary safety precautions and wear appropriate protective gear before starting.
By knowing how to remove a lawn mower wheel, you can address various maintenance tasks, replace damaged wheels, or customize your mower as needed.


